A pole lathe is the traditional tool for making round objects from wood. There are two basic types, a spindle lathe for making stair rods, chair legs and other spindly items, and the other sort (don't know the name) for making bowls, balls and the like. Both use a treadle for power but the spindle lathe is easier to make as there is no chuck and it doesn't need bearings, however it is of more limited use.
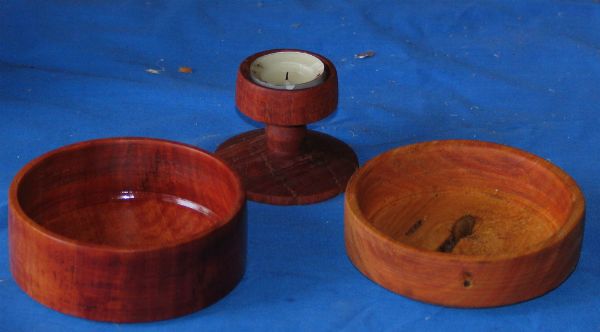
I must state that I know very little about woodturning. This description is based entirely on my construction of a single lathe over a period of a few months in Australia. The lathe did work, but there is certainly room for improvement. Once your lathe is built don't expect the bowls and candlesticks to come tumbling forth: hand turning is slow and energetic work!
The string is first tied to the end of the treadle. It goes up to the spindle or driveshaft and is wrapped around it clockwise as viewed from the right hand end of the shaft. It then goes up to the pole which should be bent sufficiently that the treadle rises quickly to its highest position when released. A sapling makes a good pole, it is usually buried deeply in the ground but in my case it was convenient to attach it to a nearby structure so it was roughly horizontal. The string was an ongoing source of trouble, it is subject to abrasion where it is wrapped around the shaft and so could be quickly worn out. Two things which worked quite well were thick braided string and a long thin leather strap.
Note that this photo shows the string without tension (the treadle should rest in the raised position) because the spindle has been removed.
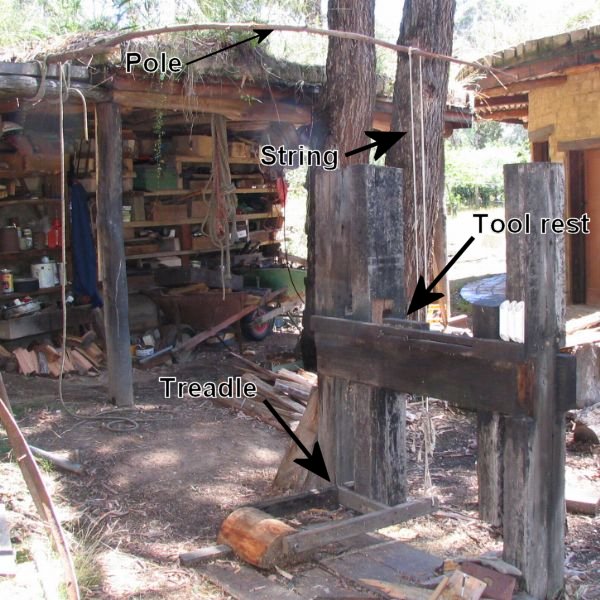
The frame should be solid, preferably sunk into the ground or at least very heavy. For a spindle lathe you need an upright at either end of the spindle, for the other type you need the uprights about 40cm apart, preferably with a third upright at the right hand end to support the tool rest.
Some form of tool rest to support the chisel or gouge is essential. To cope with different sizes and shapes of work it should be adjustable, and it should come quite close to the work to prevent the leverage on the tool being too great.
In a spindle lathe the shaft is the work. It is secured by drilling small holes in each end and then clamping it lengthways between a fixed screw and an adjustable screws. Big coach screws are perfect for this. The string is then wrapped around the work and as the treadle is operated the work spins alternately back and forth. Obviously it is not possible to work on the area which the string has been wrapped around, so you must either discard that section, or reverse the work in the lathe.
This is the type of lathe where the work is held only on one side (usually what will become the bottom) so there is free access to the sides and end of the work. It is used for making bowls. This design introduces two problems which are absent from the spindle lathe: attaching the work to the driveshaft, and the bearings for the driveshaft. In my design I used a pair of 35mm ID, 60mm OD wheel bearings which I obtained from a bearing stockist for about thirty Australian dollars ( around $20 US ). These were pushed onto a spindle which I made using the same frame, treadle and pole as a spindle lathe. The spindle was made from a piece of 40mm dowel.
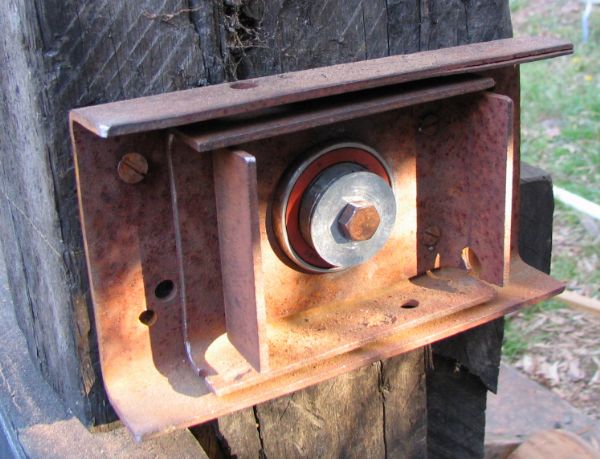
My first attempts to secure the bearings to the frame used wooden blocks with a bearing-sized cup hollowed out of them. These quickly fretted in use so the driveshaft soon had excessive radial play. Instead I used some thick pieces of steel plate from an abandoned truck chassis with 60mm holes made by tedious chain-drilling and filing. Theywere however industructable! Finally I had to prevent axial motion of the driveshaft, without introducing too much friction. I achieved this with a washer and spacer over the left hand end of the driveshaft, secured with a coach screw which could be turned to adjust the axial play.
Photo of first attempt at the right hand bearing, note nails hammered in to take up looseness:
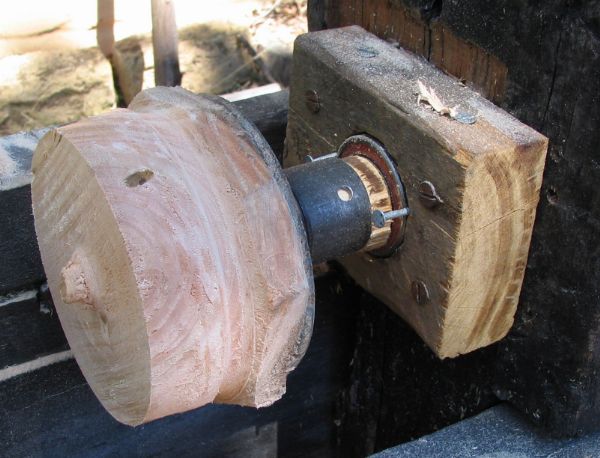
Photo of the industructable left hand bearing, with coach screw to take up axial play:
For a chuck the credit goes to my Uncle who suggested a pipe fitting that screwed onto a flange about 15cm in diameter. The pipe was about the right size to slide over the driveshaft and the flange had three holes through which short fat screws could be used to secure the work to it. If you can't find such a fitting then the simplest thing is to fasten some kind of flange to the end of the driveshaft which can then be screwed to the work.
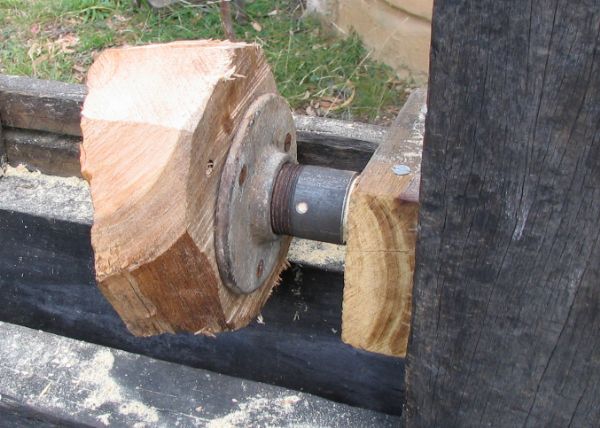
Like the spindle lathe, the string is wrapped around the shaft and the work spins back and forth as the worker drives the treadle. With a heavy piece of work this puts quite a strain on everything at each reversal, so one day I would like to add a rachet!
Click here to download a short Windows video (1 Mbyte) of the pole lathe in action.
Axial: Along the length of a shaft.
Chuck: A device to hold the work.
Radial: Perpendicular to a shaft.
Play: Free movement (generally undesired) in a mechanical mechanism